
Walking into a pet store — or opening a browser tab — to build your first terrarium can feel like a gear-acquisition trap. There are starter kits for $30 and components that cost hundreds, forum threads insisting you need X, and YouTube builds that assume a level of experience you don’t have yet. The honest answer is that a good terrarium doesn’t require much — but it does require the right things in the right order, and most kit guides gloss over what actually matters. Here’s exactly what to buy and skip — with our closed-terrarium plant guide as the companion for the planting stage.
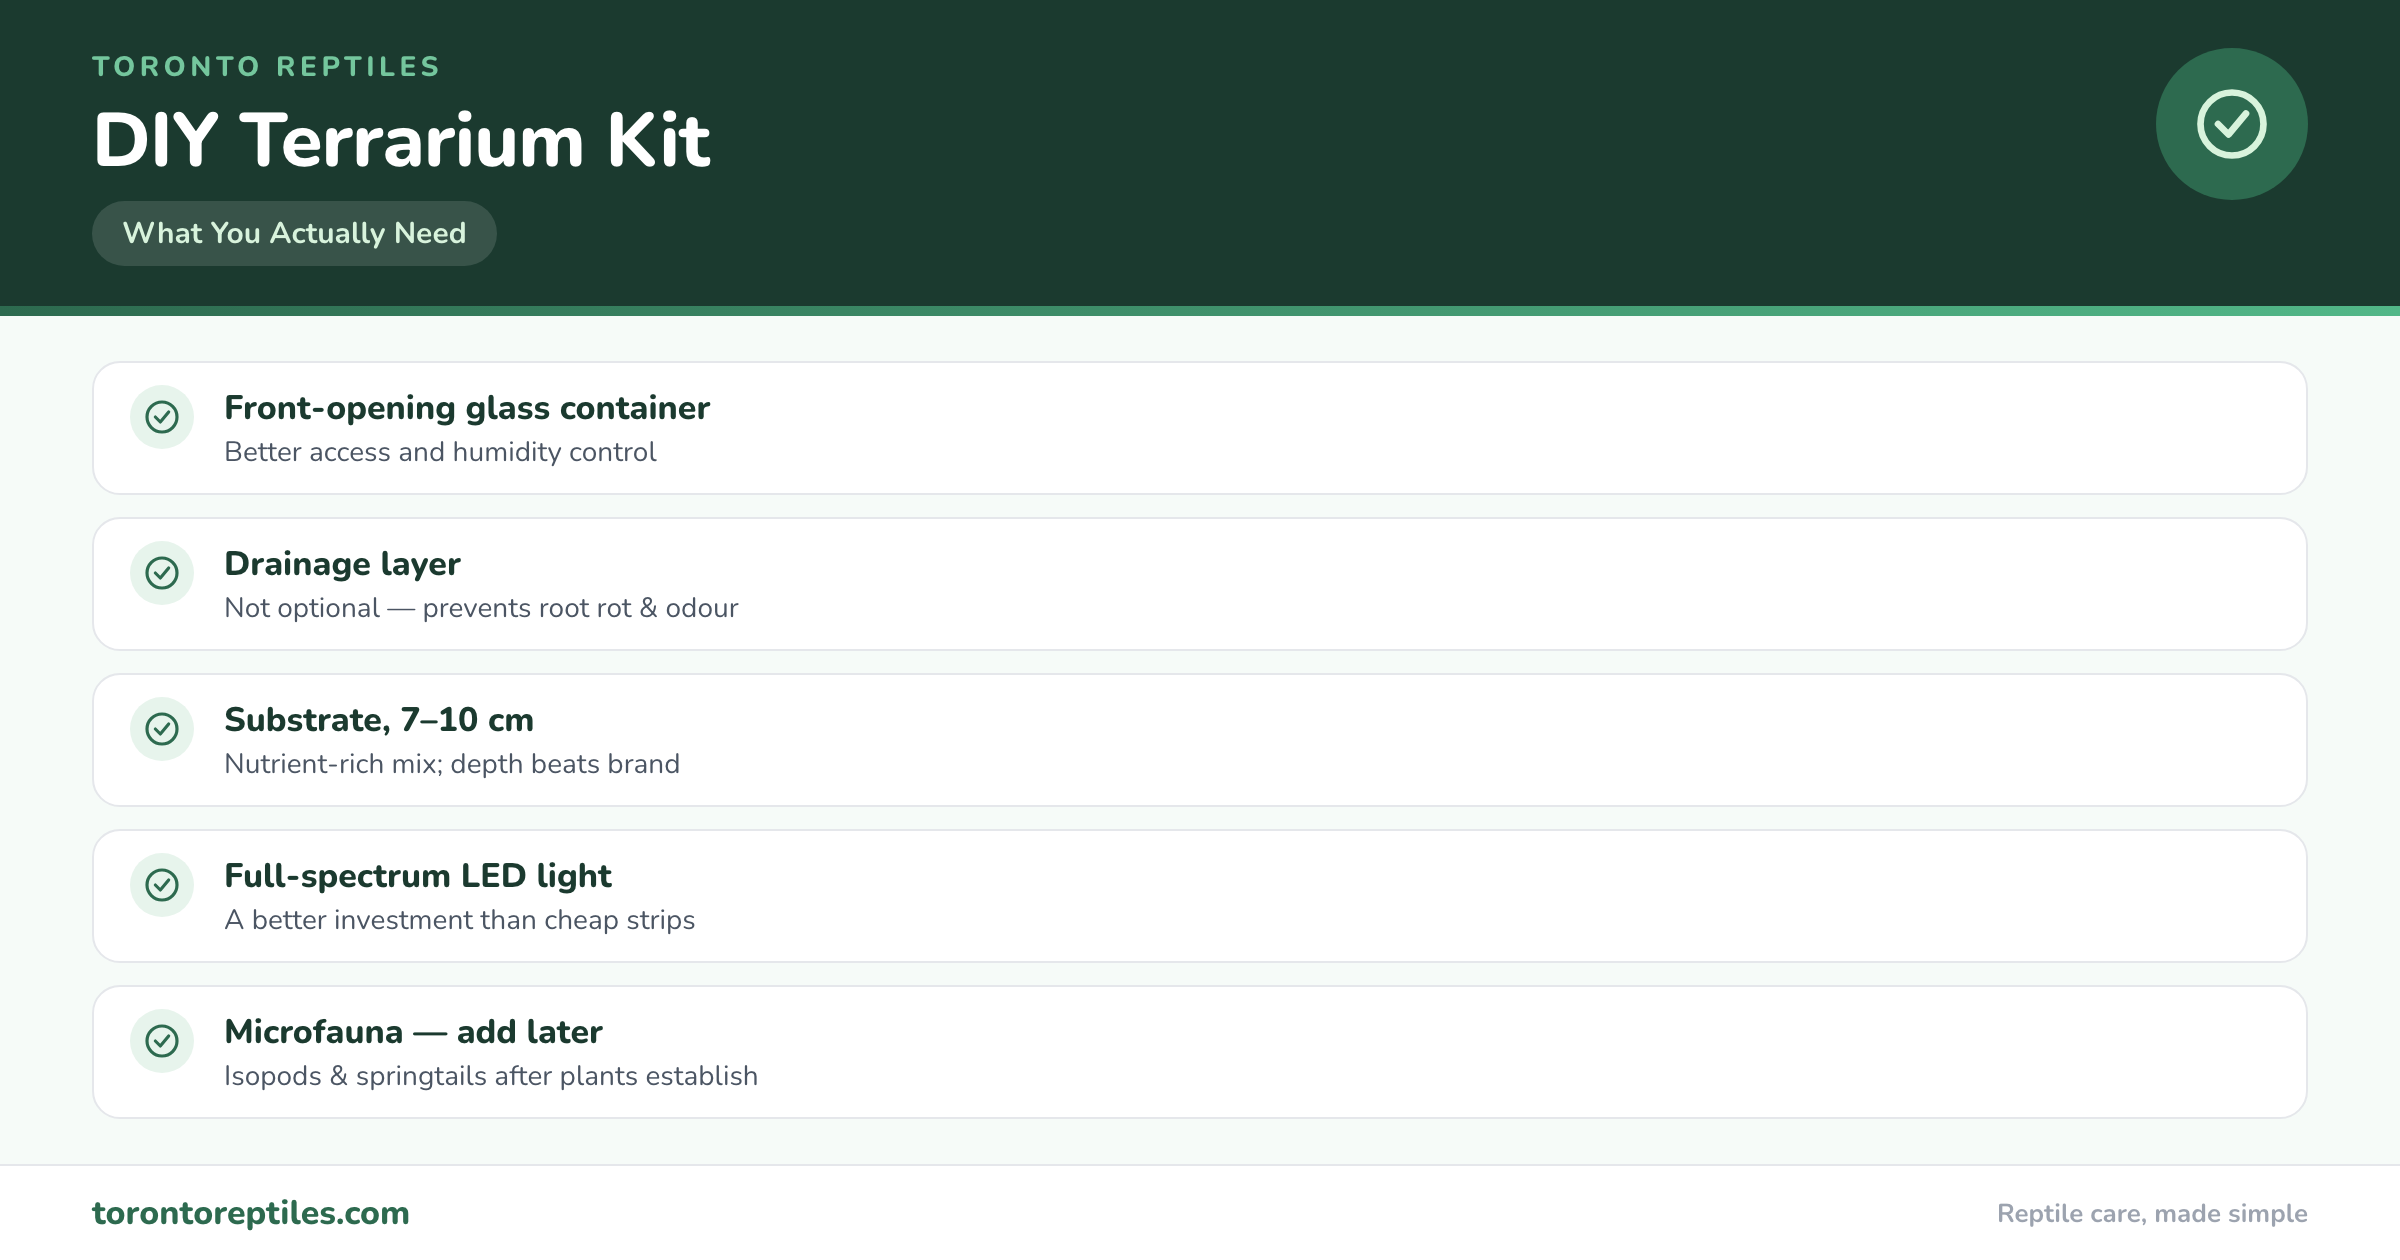
TL;DR: A good first kit: front-opening or wide-mouth glass, a real drainage layer, 7–10+ cm of nutrient-rich substrate, and full-spectrum light. The order matters more than the brands — skip the gimmicks.
This guide walks you through every component of a functional DIY terrarium kit: what you genuinely need, what you can skip at the start, and how to spend your money wisely. Whether you’re building a closed tropical terrarium for orchids and moss, a bioactive reptile enclosure, or a hands-on project for kids, the core kit is largely the same. The differences come in the details — and that’s exactly what we’ll cover.
We’ve guided hundreds of beginners through first builds at Toronto Reptiles and watched the same purchases — including the same regrettable ones. Consider this your shortcut through the trial and error.
Key Takeaways
- Container choice drives everything — front-opening glass terrariums are worth the upgrade for both access and humidity control
- The drainage layer is not optional — skipping it leads to root rot and odour within months
- Substrate depth matters more than brand — aim for at least 7–10 cm of nutrient-rich mix for most tropical terrariums
- Lighting drives long-term plant health — a full-spectrum LED is a better investment than cheap strip lighting
- You can add microfauna later — isopods and springtails can be introduced after plants establish, not at build time
What Is a DIY Terrarium Kit (and Why Not Just Buy a Pre-Built One)?
Commercial terrarium “starter kits” — the kind that come in a box with a small glass container, some gravel, and a planting guide — are often disappointing in practice. The containers are typically too small to create a stable microclimate, the substrate is inadequate for live plants, and the kits rarely include drainage mesh or a proper substrate separator. They’re sold as novelty items, not living ecosystems.
A DIY kit means you’re sourcing each component deliberately. You control the container size, the substrate blend, the drainage depth, and the plant selection. It takes a bit more research upfront, but the result is a terrarium that thrives for years rather than one that slowly declines over months. And once you’ve built one properly, you’ll understand why every component is there — which makes troubleshooting easy.
The Core Components: Your DIY Terrarium Kit Checklist
1. The Container
Glass is almost always the right choice — it holds humidity, allows full visibility, and doesn’t off-gas chemicals over time. Acrylic can work but scratches easily and can warp with temperature fluctuations in high-humidity builds.
Container shape determines what you can build:
- Hinged lid or removable lid glass tanks (repurposed fish tanks): Affordable and widely available. Adequate for closed terrariums and desert setups. Top-down access makes planting awkward for taller builds.
- Front-opening terrariums (Exo Terra, Zoo Med, IKEA Fabrikor hacks): The best choice for anything you’ll actively maintain. Front doors make planting, trimming, and cleaning much easier — especially once hardscape is established.
- Apothecary jars or geometric glass containers: Beautiful as display pieces but challenging to maintain long-term. Best for simple moss terrariums rather than complex planted builds.
For beginners, we recommend starting with at least a 20-gallon (76 litre) equivalent enclosure. Smaller containers fluctuate faster in humidity and temperature, which makes balancing them genuinely hard for someone still learning the system.
2. Drainage Layer
The drainage layer sits at the bottom of the enclosure and prevents substrate from becoming waterlogged. Without it, excess moisture has nowhere to go — you’ll see root rot, bacterial blooms, and eventually odour as the substrate turns anaerobic. For a deeper look at how each layer interacts — drainage, separation, substrate, and the living layer above — see our guide to terrarium substrate layers.
Common drainage layer materials:
- LECA (lightweight expanded clay aggregate): The gold standard. Cheap, porous, pH-neutral, and easy to find at garden centres. Aim for 3–5 cm depth.
- Coarse perlite: Works well and is lighter than LECA. Sometimes used in tropical builds where drainage speed matters.
- River pebbles: Old-school but functional. Heavier and less porous than LECA — use at 4–6 cm if this is your choice.
Avoid fine aquarium gravel for drainage — the particles are too uniform and compact easily, which defeats the purpose of the layer.
3. Drainage Mesh / Substrate Separator
This thin layer sits between your drainage material and your substrate, preventing substrate from migrating down into the drainage layer over time. Without it, the two layers mix within a few months and you lose the drainage functionality you built in.
- Weed barrier fabric (landscape fabric): Cut to size, lay over the drainage layer. Cheap, effective, lasts for years.
- Fine plastic mesh: Available at craft stores. Works well and allows visibility into the drainage layer below.
- Window screen off-cuts: Works in a pinch. Cut to shape and use as-is.
4. Substrate
Substrate is where your plants root, where microfauna live, and where the biological engine of your terrarium runs. Getting this right matters more than any other single component — a drainage layer with poor substrate above it won’t save a build.
For tropical planted terrariums, this blend works well:
- 60% organic coco coir (base material, holds moisture, open structure)
- 20% perlite or pumice (improves drainage and root aeration)
- 20% worm castings or organic compost (provides nutrients for plant growth)
Commercial blends specifically formulated for terrariums — like ABG mix (Atlanta Botanical Garden mix) — follow a similar logic and are a perfectly fine starting point. Aim for 7–10 cm of substrate depth minimum for most builds, and up to 15 cm for taller builds with deep-rooting plants.
For reptile bioactive setups, substrate requirements vary significantly by species. If you’re building for an animal rather than a planted display piece, read our guide to reptile enclosure setup first — the wrong substrate can cause real problems for the animal living in it.
5. Hardscape
Hardscape — cork bark, driftwood, rocks, branches — gives your terrarium structure, visual depth, and planting surfaces. It’s also where epiphytic plants (certain ferns, orchids, bromeliads) can be attached directly to wood rather than planted in substrate.
Cork bark flats and tubes are the most versatile hardscape material for tropical terrariums. They’re lightweight, pH-neutral, retain moisture on the surface (great for moss attachment), and look genuinely natural. Driftwood adds visual drama but can shift pH as it breaks down — test your water if you notice plants struggling after a few months.
Don’t use wood collected from outdoors without treatment. It can introduce pests, mould, and pathogens that are very hard to eradicate. Either bake collected wood at 100°C for 2 hours, or source from reptile supply shops that sell pasteurised pieces.
6. Plants
Plant selection depends on your enclosure type (closed vs. open, humid vs. dry) and light level. For a closed tropical terrarium, the following are beginner-friendly and commonly available in Canada:
- Mosses (Java moss, cushion moss, sheet moss): Ground cover and accent; love high humidity and low light
- Fittonia (nerve plant): Low-light tolerant, excellent ground cover, several colour variants
- Miniature ferns: Adds vertical texture; keep the substrate consistently moist
- Peperomia species: Tolerant of variable conditions, many varieties suited to terrariums
- Pothos cuttings: Essentially indestructible — good confidence-builder for first-time builders
Watch out for plants sold as “miniature” at garden centres — many are simply juvenile specimens of full-size plants. Ask specifically for terrarium-appropriate or nano varieties.
7. Lighting
Plants in a closed terrarium can survive on indirect natural light from a window — but if you want them to genuinely grow rather than just survive, or if your terrarium lives away from windows, a dedicated light makes a substantial difference.
Look for full-spectrum LEDs with a colour temperature of 5000–6500K (cool white / daylight). Avoid incandescent bulbs — they produce heat without the right light spectrum and will dry out a closed terrarium quickly. A 10–12 hour photoperiod on a timer is the standard target.
DIY Terrarium Kit Cost Breakdown (2026)
Approximate costs in CAD, sourced from Toronto-area garden centres, pet stores, and online retailers.
| Component | Budget Option | Mid-Range | Premium |
|---|---|---|---|
| Container (20–40 gal equivalent) | $20–40 (repurposed fish tank) | $80–120 (Exo Terra 36×18×18) | $150–200+ (custom or IKEA hack) |
| Drainage layer (LECA, 2L) | $6–10 | $10–15 | $15–20 |
| Substrate separator | $3–5 (landscape fabric) | $5–8 | $8–12 (fine mesh) |
| Substrate (coco coir + perlite + compost) | $15–25 | $25–40 (ABG mix) | $40–60 (premium blend) |
| Hardscape (cork, driftwood) | $10–20 | $25–50 | $60–100+ |
| Plants (3–6 specimens) | $15–25 | $30–50 | $50–100+ |
| Lighting | $15–25 (basic LED strip) | $40–70 (terrarium LED) | $80–150+ (Arcadia, Fluval) |
| Total (approximate) | $84–150 | $215–353 | $403–642+ |
A first build at the budget level is completely functional. If you’re unsure whether terrarium keeping is going to stick as a hobby, start here and upgrade later. The mid-range option is where most committed hobbyists land by their second or third build.
Step-by-Step Assembly
- Clean and dry the container. Rinse with clean water and let it dry fully. Avoid soap — residue can harm sensitive plants and any microfauna you add later.
- Add the drainage layer. Pour LECA or pebbles to a depth of 3–5 cm. Level the surface gently — it doesn’t need to be perfectly flat.
- Lay the substrate separator. Cut landscape fabric or mesh to fit the container base. It should rest flat on top of the drainage layer without bunching at the sides.
- Add substrate. Pour your substrate mix to a depth of 7–15 cm. Create gentle slopes and mounds for visual interest — flat substrate looks lifeless once planted.
- Place hardscape. Embed cork bark and driftwood at natural angles. Push pieces slightly into the substrate so they don’t shift. Leave deliberate planting pockets around each piece.
- Plant. Use a chopstick or long tweezers for tight spots. Firm substrate around root systems gently but thoroughly. For epiphytes, attach to bark using fishing line or aquarium-safe glue.
- Mist everything. Give a generous misting after planting to settle the substrate and hydrate the environment. Some fogging of the glass is normal after closing — that’s the humidity you’re creating.
- Set the light on a timer. 10–12 hours per day. Give the terrarium 2–3 weeks to stabilise before making any significant adjustments.
Common Mistakes to Avoid
Going too small. The temptation with a first build is to start modest — but enclosures under 5 gallons are genuinely hard to stabilise. Humidity and moisture fluctuate too quickly, and there’s no margin for error. A 10-gallon minimum is workable; 20 gallons is comfortable for a beginner.
Skipping the drainage layer. We see this constantly. It seems unnecessary when you’re first building — the substrate looks fine, the plants look happy, nothing seems wrong for the first few months. Then the odour starts. Once substrate becomes anaerobic and waterlogged, it’s extremely difficult to fix without dismantling the entire build.
Overwatering at the start. New builders tend to mist too frequently out of anxiety. A closed terrarium is nearly self-sustaining once you get the moisture level right — in many cases, you’ll go weeks between sessions. Constant condensation fogging every surface is a sign of too much moisture, not healthy humidity.
Choosing the wrong plants for the humidity level. Desert plants in a high-humidity closed terrarium will rot. Tropical plants in a dry open terrarium will crisp. Match your plant list to your enclosure type before buying anything.
If you’re planning to add live microfauna — isopods or springtails — to your build, our guide to isopod terrariums covers species selection, introduction timing, and starter colony density for beginners.
Adding Microfauna: Springtails and Isopods
Microfauna — particularly springtails (Collembola) and isopods (pill bugs, porcellio, etc.) — are the cleanup crew of a bioactive terrarium. Springtails consume mould and surface-level organic waste; isopods break down larger pieces of decaying matter deeper in the substrate. Together, they create a decomposition cycle that keeps your terrarium self-cleaning and odour-free.
You don’t need to add them at build time. Many experienced builders wait 4–8 weeks after planting before introducing microfauna, giving the substrate time to develop the microbial base the microfauna will feed on. Introducing them too early into fresh, sterile substrate means they’ll run out of food and decline before the terrarium is established.
For a standard 20-gallon terrarium, a starter culture of 50–100 springtails and a small colony of 10–15 isopods is a reasonable starting point. You can source both from reptile specialty shops in the GTA or from hobbyist breeders online.
Learn by Doing
If you’d rather learn by doing than research every component, start with a single small jar build using pre-measured materials — the full layering sequence takes under an hour, and every lesson transfers directly to bigger builds.
Frequently Asked Questions
What’s the easiest terrarium to build for a beginner?
A closed tropical terrarium with a hinged lid glass tank, LECA drainage, a coco coir-based substrate, and moss is the most forgiving starting point. It’s self-regulating, requires minimal watering, and mistakes in plant selection are survivable as long as the drainage layer is solid.
Can I use regular potting soil as terrarium substrate?
Sometimes, but not reliably. Standard potting mixes often contain slow-release fertiliser pellets, which can cause algae blooms and root burn in humid closed terrariums. Look for fertiliser-free mixes, or use a coco coir base and add your own amendments. It’s worth getting this right from the start.
How long does it take for a new terrarium to establish?
Most planted terrariums reach a stable equilibrium within 4–8 weeks. During that period you may notice condensation patterns changing, some plant die-off as specimens adjust, and substrate settling. This is normal. Resist the urge to make major interventions early — small adjustments are fine, but tearing things apart in week two usually creates more problems than it solves.
Do I need a pump, filter, or misting system in a terrarium?
No — for a standard planted terrarium, you need only a light and optionally a small fan for ventilation in larger builds. The drainage layer and substrate handle moisture regulation passively. Automatic misting systems and water features are available as optional upgrades, but they’re not required for a functional build.
Can I build a terrarium with kids?
Absolutely. The layering and planting steps are exactly the kind of hands-on, tactile activity kids get absorbed in. Depending on age, you’ll want to supervise handling of substrate and drainage materials, but most kids 5 and up can meaningfully participate. Pre-measuring materials in advance makes it more manageable.
What plants are easiest to keep in a closed terrarium?
Moss (cushion and sheet moss in particular), Fittonia, Peperomia, and miniature ferns are all highly forgiving in closed tropical conditions. Pothos cuttings are essentially indestructible. Avoid succulents and cacti in closed builds — they require the dry conditions a sealed container simply can’t provide.
How do I know if my terrarium has too much moisture?
Light fogging in the morning that clears by midday is normal and healthy. Constant complete condensation on all surfaces, water streaming down the sides, or visible standing water in the drainage layer are all signs of too much moisture. Crack the lid for a few hours to let some evaporate, then monitor. Reduce misting frequency going forward until the balance stabilises.
Is a DIY kit cheaper than a store-bought one?
For equivalent quality, yes — significantly. Store-bought kits at the $30–60 price point typically include a very small glass container (under 5 gallons) and generic gravel. A DIY kit built around a proper 20-gallon setup with drainage and quality substrate runs $84–150 but will produce a terrarium that actually thrives long-term. You’re getting more container, better materials, and a much longer lifespan for a comparable or lower cost.
Ready to go deeper on how the layers work together? Our post on building a closed terrarium from scratch walks through a specific build style end-to-end. And if you’re building for a reptile rather than a display piece, start with the reptile enclosure setup guide — the substrate and drainage principles carry over, but the species requirements change everything.