

The single biggest reason new reptiles fail in their first home isn’t the keeper — it’s the enclosure. A pet store can sell you a 10-gallon “starter kit” with a heat rock and a water dish that is, in plain terms, wrong. The animal goes home, develops thermal stress or metabolic bone disease over a few months, and the family thinks reptiles are just hard. They aren’t. They are exact. Set the enclosure up and verify it before the animal comes home — especially if you’re adopting one of ours.
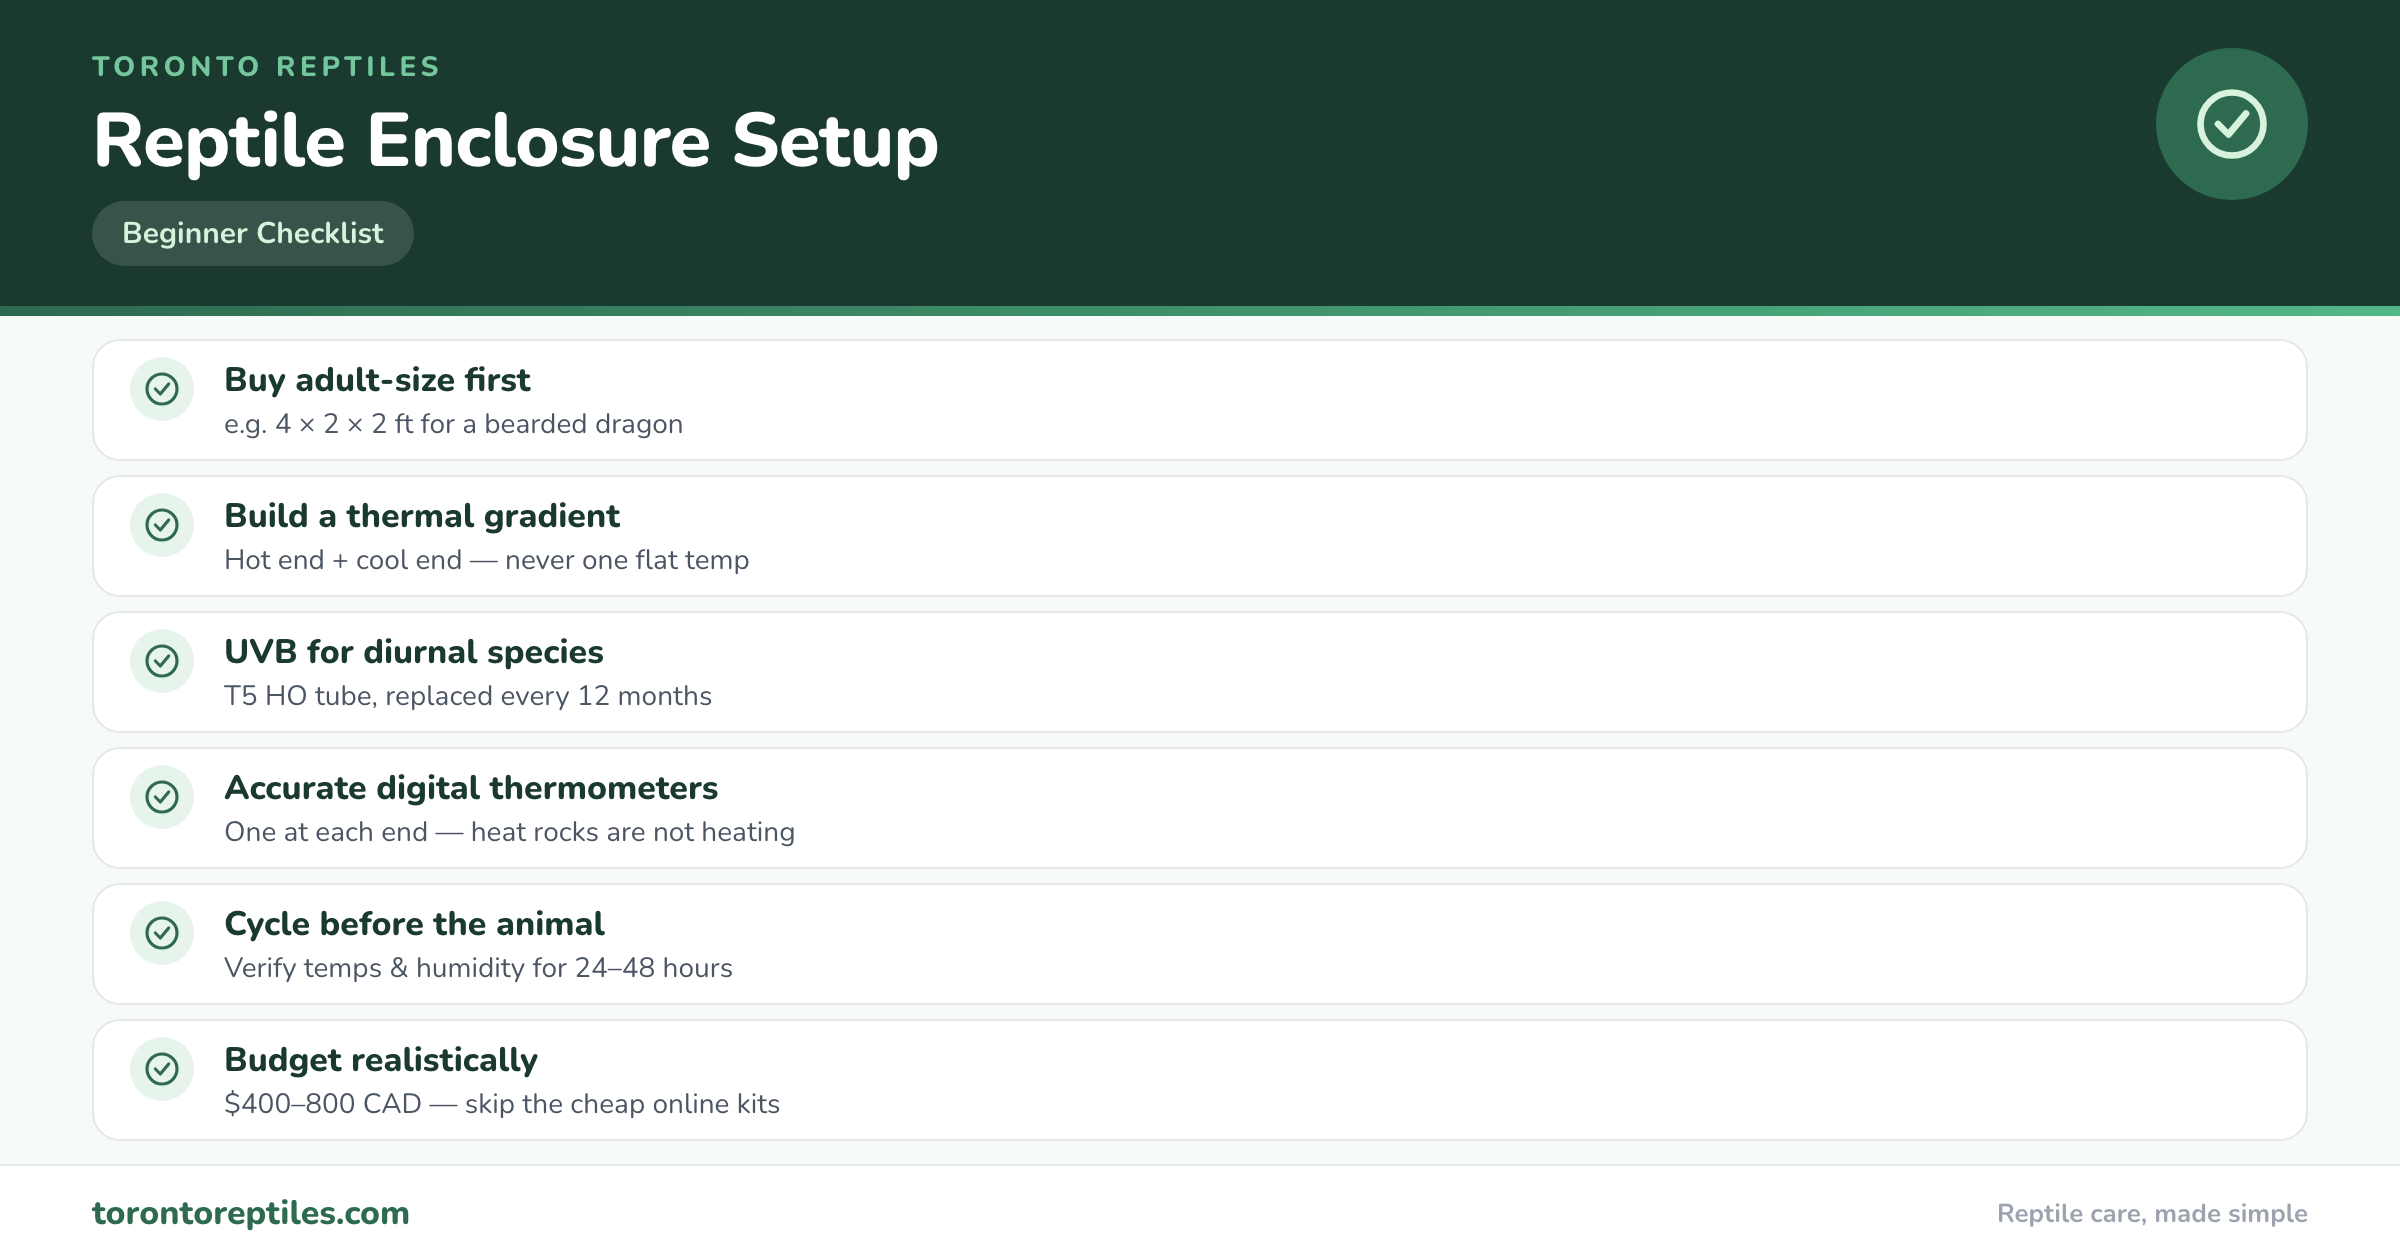
TL;DR: Buy the adult-size enclosure first, build a thermal gradient (hot end / cool end) on a real thermostat, treat UVB as non-negotiable for diurnal lizards, and run the empty setup for 24–48 hours to verify temperatures before the animal moves in.
This guide walks through how to set up a reptile enclosure properly the first time — choosing the tank, the substrate, the heating, the lighting, the humidity, and the enrichment — so the animal you bring home walks into a habitat that already works on day one. We’ll keep the focus practical and Canada-aware (cold-room winters, dry-radiator air) and we’ll give you a real cost breakdown at the end.
One ground rule before we start: this is a beginner-level setup guide that covers the principles common to most popular reptiles — bearded dragons, leopard geckos, ball pythons, corn snakes, crested geckos. Some species (chameleons, monitors, aquatic turtles) have specialized needs beyond what we cover here. For species-specific deep dives, see our individual care guides linked throughout.
Key Takeaways
- Buy the adult-size enclosure first. Upgrading later costs more and stresses the animal. A bearded dragon needs a 4x2x2 ft enclosure for life — start there.
- Set up a thermal gradient, not a temperature. One end hot, one end cool, with an accurate digital thermometer at each end. Heat rocks are not heating.
- UVB is non-negotiable for diurnal lizards. Bearded dragons, tortoises, and most geckos need a quality T5 HO UVB tube replaced every 12 months.
- Cycle and verify the enclosure for 24–48 hours before adding the animal — temps and humidity should stabilize across a full day-night cycle.
- Real budget for a beginner setup is $400–$800 CAD excluding the animal. The cheap kits sold online are usually false economy.
Step 1: Choose the Right Enclosure
Size: buy for the adult, not the baby
The most common mistake is buying a 20-gallon tank for a baby bearded dragon “to grow into.” It’s reasoning we understand — beardies are tiny when they arrive — but the math doesn’t work. They reach adult size within 12 months, and you’ll be replacing the enclosure within a year anyway. You’re better off buying the adult enclosure on day one and just providing more clutter and hides while the animal is small.
| Species | Minimum Adult Enclosure | Better |
|---|---|---|
| Bearded dragon | 4 ft x 2 ft x 2 ft | 5 ft x 2 ft x 2 ft |
| Leopard gecko | 36 in x 18 in x 18 in | 40 in x 20 in x 20 in |
| Crested gecko | 18 in x 18 in x 24 in (vertical) | 24 in x 18 in x 36 in |
| Corn snake | 4 ft x 2 ft x 1 ft | 4 ft x 2 ft x 2 ft |
| Ball python | 4 ft x 2 ft x 1.5 ft | 4 ft x 2 ft x 2 ft |
| Russian tortoise | 4 ft x 2 ft (open top) | 6 ft x 3 ft tortoise table |
Material: PVC vs glass vs screen
Three real options for most beginner setups. PVC enclosures (Dubia, Animal Plastics, Toad Ranch in Canada) are insulated, hold heat and humidity well, and look clean — they are our default recommendation for most species. Glass terrariums are cheap and widely available but lose heat and humidity quickly through the walls and screen top. Screen cages are appropriate for chameleons and a few high-airflow species, and wrong for almost everyone else.
Ventilation
You want airflow, not airflow. By that we mean: enough exchange to prevent stagnant air and respiratory issues, not so much that humidity and heat blow out the top. A PVC enclosure with vents on opposite sides usually nails this without modification.
Step 2: Build the Thermal Gradient
This is where the most damage gets done in beginner setups. Reptiles are ectotherms — they regulate temperature by moving between hot and cool zones. Your job isn’t to keep the enclosure at one temperature. It’s to create a hot side and a cool side and let the animal pick.
Heat sources to use
- Halogen flood bulb — our preferred basking source for diurnal species. Produces strong infrared and visible light, mimicking sun. 50–100W depending on enclosure size and ambient room temp.
- Deep heat projector or ceramic heat emitter (CHE) — for night heat or for snakes that don’t need a visible bright basking spot. Always on a thermostat.
- Under-tank heat mat — useful for leopard geckos, ball pythons, and corn snakes. Belly heat helps digestion. Always on a thermostat.
Heat sources to never use
- Heat rocks — the only product in the reptile trade that we will tell you to throw out on sight. They cause contact burns. Period.
- Coloured night bulbs (red, blue, purple) — disrupt sleep and don’t actually provide enough heat. Use a CHE or DHP instead.
- Household lamps without a thermostat — heat sources without thermostats are a fire risk and a thermal burn risk. Every heating element gets a thermostat. Every one.
Measuring temperatures correctly
You need at least two digital thermometers — one at the basking spot, one at the cool end. Stick-on dial thermometers are notoriously inaccurate. An infrared temperature gun ($25–$40) is the single most useful tool a new keeper can buy. Aim it at the basking surface itself, not the air above it, to confirm what the animal will actually feel when it sits there.
Step 3: Lighting and UVB
UVB is what the animal uses to synthesize vitamin D3 and absorb calcium. Without it, diurnal reptiles develop metabolic bone disease — slow, painful, and almost always fatal if uncorrected. The good news is that this is a $60 problem, easily solved.
What to buy
Two brands consistently test well: Arcadia and Zoo Med (Reptisun). Buy a T5 HO linear tube — not a coil, not a compact. The fixture should span at least two-thirds of the enclosure length. Mount it inside the enclosure or above a non-UV-filtering screen mesh; glass and most plastics block UVB entirely.
Strength by species
| Species | UVB Tube | Distance from Basking Spot |
|---|---|---|
| Bearded dragon | T5 HO 12% (Arcadia Desert / Zoo Med 10.0) | 10–12 in |
| Russian tortoise | T5 HO 12% | 10–12 in |
| Leopard gecko | T5 HO 6% (optional but beneficial) | 10–14 in |
| Crested gecko | T5 HO 6% (optional) | 10–14 in |
| Ball python / Corn snake | T5 HO 6% (optional, low-strength) | 10–14 in |
Replace the tube every 12 months. UVB output decays well before the visible light fades, so a tube that “still works” can be effectively dead.
Photoperiod
12 hours on, 12 hours off is a safe default for most species year-round. A simple plug-in timer ($15) handles this. Some keepers shift to a 10-on, 14-off “winter” cycle — entirely optional and not necessary for first-year keeping.
Step 4: Substrate
Substrate choice depends on the species and how much work you want to put in. There are three viable approaches.
- Sterile substrates (paper towels, reptile carpet, slate tile): cheapest, easiest, most sterile. Less natural and less enriching. Fine for first-year setups.
- Loose naturalistic substrates (a 60/40 topsoil-and-sand mix for desert species, ABG mix for tropical species): looks better, allows digging, retains humidity. Spot-clean weekly.
- Bioactive substrates (live plants + cleanup crew of isopods and springtails): self-cleaning, beautiful, and the most enriching option. Higher upfront effort and cost. We cover the principles in our closed terrarium build guide and our isopod terrarium guide — many of the same principles apply to reptile bioactive setups.
Avoid calcium sand, walnut shell, and crushed corncob — all sold for reptiles, all linked to impaction.
Step 5: Hides, Decor, and Enrichment
A reptile enclosure with no clutter is a reptile enclosure with a stressed animal. Plan for, at minimum:
- One hide on the warm side
- One hide on the cool side
- One humid hide (a sealed plastic container with damp sphagnum moss and a cut entrance) — essential for shedding
- Climbing branches or rocks for arboreal and semi-arboreal species
- A water bowl large enough for the animal to drink from and, for snakes, soak in
- Visual barriers — clutter, plants, foliage. A cluttered enclosure feels safer than an open one.
Step 6: Humidity
Humidity is the variable Canadian keepers fight all winter. Toronto’s indoor air drops to 20% relative humidity in January, which is fine for desert species and a problem for tropical ones. Use a digital hygrometer at the cool end of the enclosure to measure.
| Species | Target Humidity | Method |
|---|---|---|
| Bearded dragon | 30–40% | Ambient, with humid hide for shedding |
| Leopard gecko | 30–40% | Ambient, with humid hide |
| Russian tortoise | 40–60% | Damp substrate, weekly soaks |
| Corn snake | 40–60% | Larger water bowl, occasional misting |
| Ball python | 50–60% (70%+ in shed) | Larger water bowl, sealed PVC enclosure |
| Crested gecko | 60–80% | Daily misting; bioactive holds humidity well |
Step 7: Cycle the Enclosure Before the Animal Arrives
Set up the entire enclosure — heat, lights, substrate, hides, water — and run it for a full 24–48 hours before bringing the animal home. Watch the highs and the lows. Take a temperature reading at noon, at 4 p.m., and again at 11 p.m. Confirm the basking spot stays in range, the cool end doesn’t drop below the night-time minimum, and humidity is stable. Adjust thermostats and dimmers until everything sits inside the target windows. This is not optional. It is the single thing that separates a smooth first month from a frantic one.
Real Cost Breakdown (CAD)
Pricing for a leopard gecko setup, our most-asked-about beginner build. Other species adjust slightly up or down.
| Item | Budget | Recommended |
|---|---|---|
| 36x18x18 PVC enclosure | $200 | $300 |
| Halogen flood + dome fixture | $25 | $45 |
| T5 HO 6% UVB tube + fixture | $80 | $110 |
| Under-tank heat mat + thermostat | $50 | $70 |
| Digital thermometers (x2) + hygrometer | $25 | $40 |
| Infrared temperature gun | $25 | $40 |
| Substrate | $15 | $40 |
| 3 hides + decor | $30 | $80 |
| Water and food bowls | $15 | $25 |
| Plug-in light timer | $15 | $20 |
| Total (excluding animal) | $480 | $770 |
Common Beginner Mistakes
- Trusting the pet-store starter kit. Most include a heat lamp, a coil UVB, and a 10-gallon glass tank — none of which is right for an adult.
- Skipping the thermostat. Every heat element needs one. No exceptions.
- Mounting UVB above glass or plastic. Glass blocks UVB completely. The tube must shine directly into the enclosure.
- Sand for non-desert species. Sand causes impaction in inappropriate species and is overhyped even for desert ones.
- Not measuring with digital thermometers. “It feels warm” is not data. Stick-on dials are not data either.
- Adding the animal before the enclosure is cycled. A baseline 24–48-hour test prevents the most common first-week disasters.
Frequently Asked Questions
How big should a beginner reptile enclosure be?
Buy the adult-size enclosure from day one. For most popular species (bearded dragon, ball python, corn snake), that means a 4 ft x 2 ft x 2 ft enclosure. For leopard geckos, 36 x 18 x 18 inches. Babies do fine in adult enclosures with extra clutter and hides.
Do I really need UVB if my reptile is nocturnal?
The traditional answer was no. The current keeper consensus is that low-strength UVB benefits even nocturnal species, particularly ball pythons and leopard geckos, and there’s no real downside if the tube is properly placed. Modern husbandry guidelines have shifted in this direction over the past decade.
Glass tank or PVC enclosure?
PVC if your budget allows. Glass tanks lose heat and humidity through the walls and the screen top, which makes Canadian winter husbandry significantly harder. PVC enclosures hold conditions better and look better, at roughly 50% more upfront cost.
How often should I replace UVB bulbs?
Every 12 months for T5 HO linear tubes from quality brands (Arcadia, Zoo Med). The visible light will still work; the UVB output will not. Mark the install date with a sharpie on the bulb itself.
Can I use household items to save money?
Yes for some things — Tupperware containers make great humid hides, terra cotta saucers make excellent water bowls, kitchen tile is good basking surface — but no for the heating, lighting, and thermostat. Those need to be reptile-grade, properly fused, and rated for continuous operation.
What’s the easiest enclosure to maintain long-term?
A bioactive PVC enclosure with isopods and springtails. The cleanup crew handles waste, the plants buffer humidity, and weekly maintenance drops to a few minutes. The setup effort is higher, but year-two onward is much lower than a sterile enclosure.
Want to Start with Something Smaller?
If a full reptile enclosure feels like too much commitment, a bioactive terrarium is the classic gateway project: a sealed glass habitat with live plants and a tiny clean-up crew of isopods and springtails — a working ecosystem on your shelf, no reptile required. Our bioactive terrarium guide covers the full build.
This guide describes general husbandry practices and isn’t a substitute for veterinary care — the Association of Reptile and Amphibian Veterinarians maintains a directory of qualified exotics vets. Reptiles can carry Salmonella even when healthy, so follow Health Canada’s handling and hand-washing guidance, especially around young children.